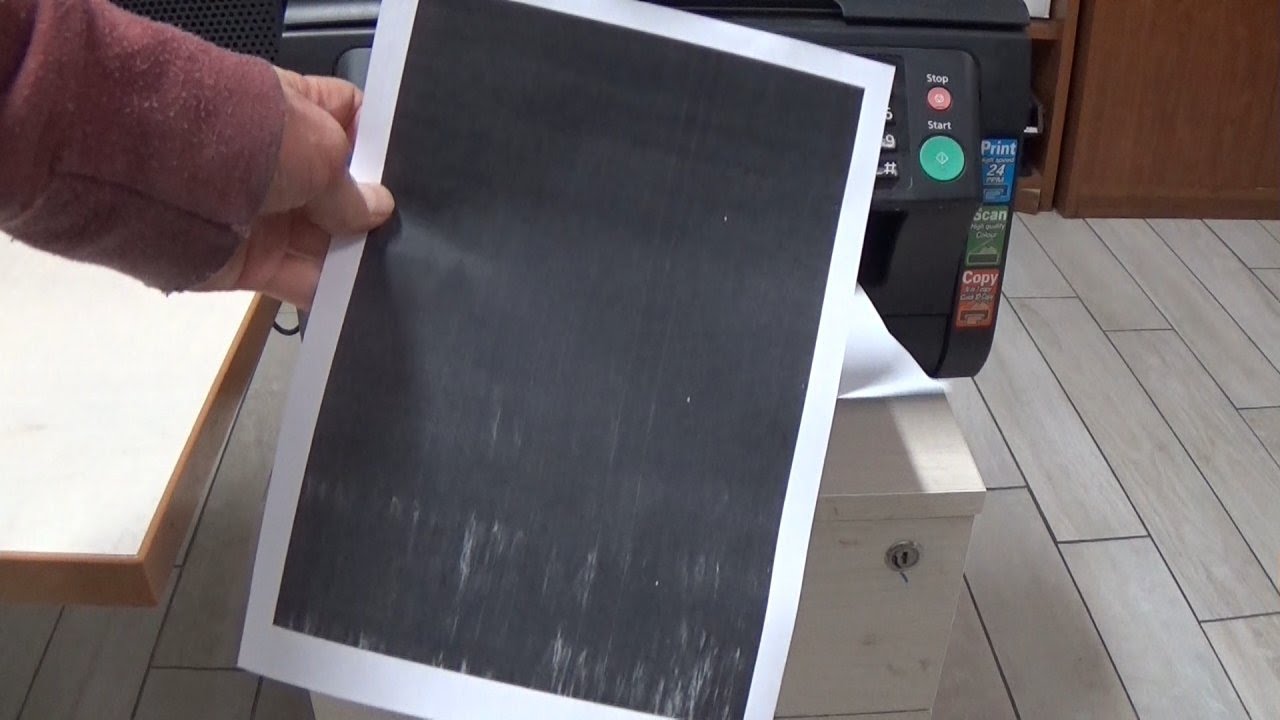
Discoloured printing can lead your printing experience to utmost frustration. The print mostly appears to be faint, and some colours might be missing from the print-out. Well, multiple reasons can invite this glitch.
For example, if you have kept your printer turned on for days, and haven’t used it, then you might encounter faint or discoloured printing.
On the other hand, if you keep the ink cartridge out of the printer for a few days, then the result will be similar. Additionally, your printer’s toner cartridges might be running out of ink. That’s why you can experience the same issue.
Similarly, clogged nozzles, dirty printheads, etc., might lead to discoloured printing. Here’s how you can resolve the discolouration of printed images on your printer.
Select the right Paper Type in the Printing Settings
If you have loaded a new bunch of papers in the input paper tray of your printer and are experiencing the discoloured printing issue, then it might be due to the paper type.
To resolve this problem, you should check the paper type setting under printing settings. Now, the method can be different for different printer models and brands.
Therefore, you should check the main printing settings. And, check out the right paper type from the settings and try printing. If you are still facing the discoloured printing issue, then you can proceed to the solutions below.
Check out the Toner or Ink Levels
Chances are there that this discoloured printing is a real sign of lower ink levels. Therefore, you should check the printer and its toner levels. If it’s an ink cartridge printer, you should open up the cartridge access door and bring out the cartridges.
Then, you have to place them on a piece of paper and observe them. If they are low on ink, replace them with branded ink cartridges. Make sure that you use branded and prescribed ink cartridges for your printer. Otherwise, you might encounter problems related to ink cartridges.
If you own an ink-tank printer, the ink levels should be visible from the outside. Pour branded ink or toners to refill your printer with ink. You can test print using your printer and check if the discolouration issue still exists.
Test Print to Check the Nozzle Pattern
You can run a nozzle pattern printing to see if everything’s right. If colour is empty, then you can check if that ink is low. Well, the printer can be full of ink and is still printing blurred images or documents.
Then, the printhead requires cleaning, and you can clean it by going through the user guide. Carefully bring the printhead out of the printer and use a clean cloth dipped in warm distilled water to clean it.
If it doesn’t resolve the discoloured printing issue, you have to perform a deep cleaning of the printhead. In case it doesn’t provide useful results, then you have to wait for the next 24 hours, and then again, go for deep cleaning.
Deep cleaning requires warm distilled water, ammonia solution, or isopropyl alcohol. You need to let the printhead soaked in the solution in the right ratios of every liquid.
The printhead’s deep cleaning might work wonders and eliminate the discoloured printing issue. Otherwise, there are chances that the printhead is faulty or damaged. You need to replace it after consulting the circumstances with a printer repair expert.
Adjust the Grayscale Settings
Users have reported that if you enable the grayscale settings for your printer, then the output can be faded. Therefore, make sure that you disable the grayscale setting on your printer. Or else, you can use the grayscale print test to detect what’s wrong with the printer status.
However, don’t forget to disable the colour printing function before you proceed with the following steps:
- Go to the printer menu and select printing preferences. There should be an option for printing all colours into grayscale or black.
- This will force the problematic cartridge to clean out the blockage and conserve the colour ink.
- Once you have printed a few sheets in grayscale or black settings, you can revert printing preferences.
Meanwhile, the clogged cartridges should be clear. Run a test print to see if the discolouration printing issue has vanished. If you are still not satisfied, try out the remaining solutions.
Take Care of Printed Papers
Numerous users have complained that they get full colour printouts, but it doesn’t stay intact longer. Additionally, some users have reported that the printouts don’t look as vibrant as expected just after printing.
You should learn and expect certain things from printouts when you are using branded ink cartridges and proper settings.
The colours appearing in the preview section on your computer might look different than they really should be on printouts. If you want such colours in the printouts, you must use a colour management system.
On the other hand, the printouts require a minimum timespan for drying. Otherwise, they might appear bland or blurred.
To prevent discoloured printing issues, ensure that you don’t stack printouts on top of each other. Place them separately and wait for them to dry. Then, observe whether the discoloured printing issue is still bothering you.
Finally, Check the Ink or Toner Settings
A few super-saving printers let you set the density levels of the ink or toner. If the default values are too low, you have to bring them up. Or else, you are destined to get blurred or discoloured prints. Find out if your printer comes with the same settings to regulate the density of inks and toners.
If you have connected your printer to your Windows computer, click the Devices and Printers option. Select your printer and locate the toner density settings. Additionally, keep the user guide handy for easy operation. Make sure that you level up the toner density and run a print test to check if it makes any difference with the discoloured printing issue.

