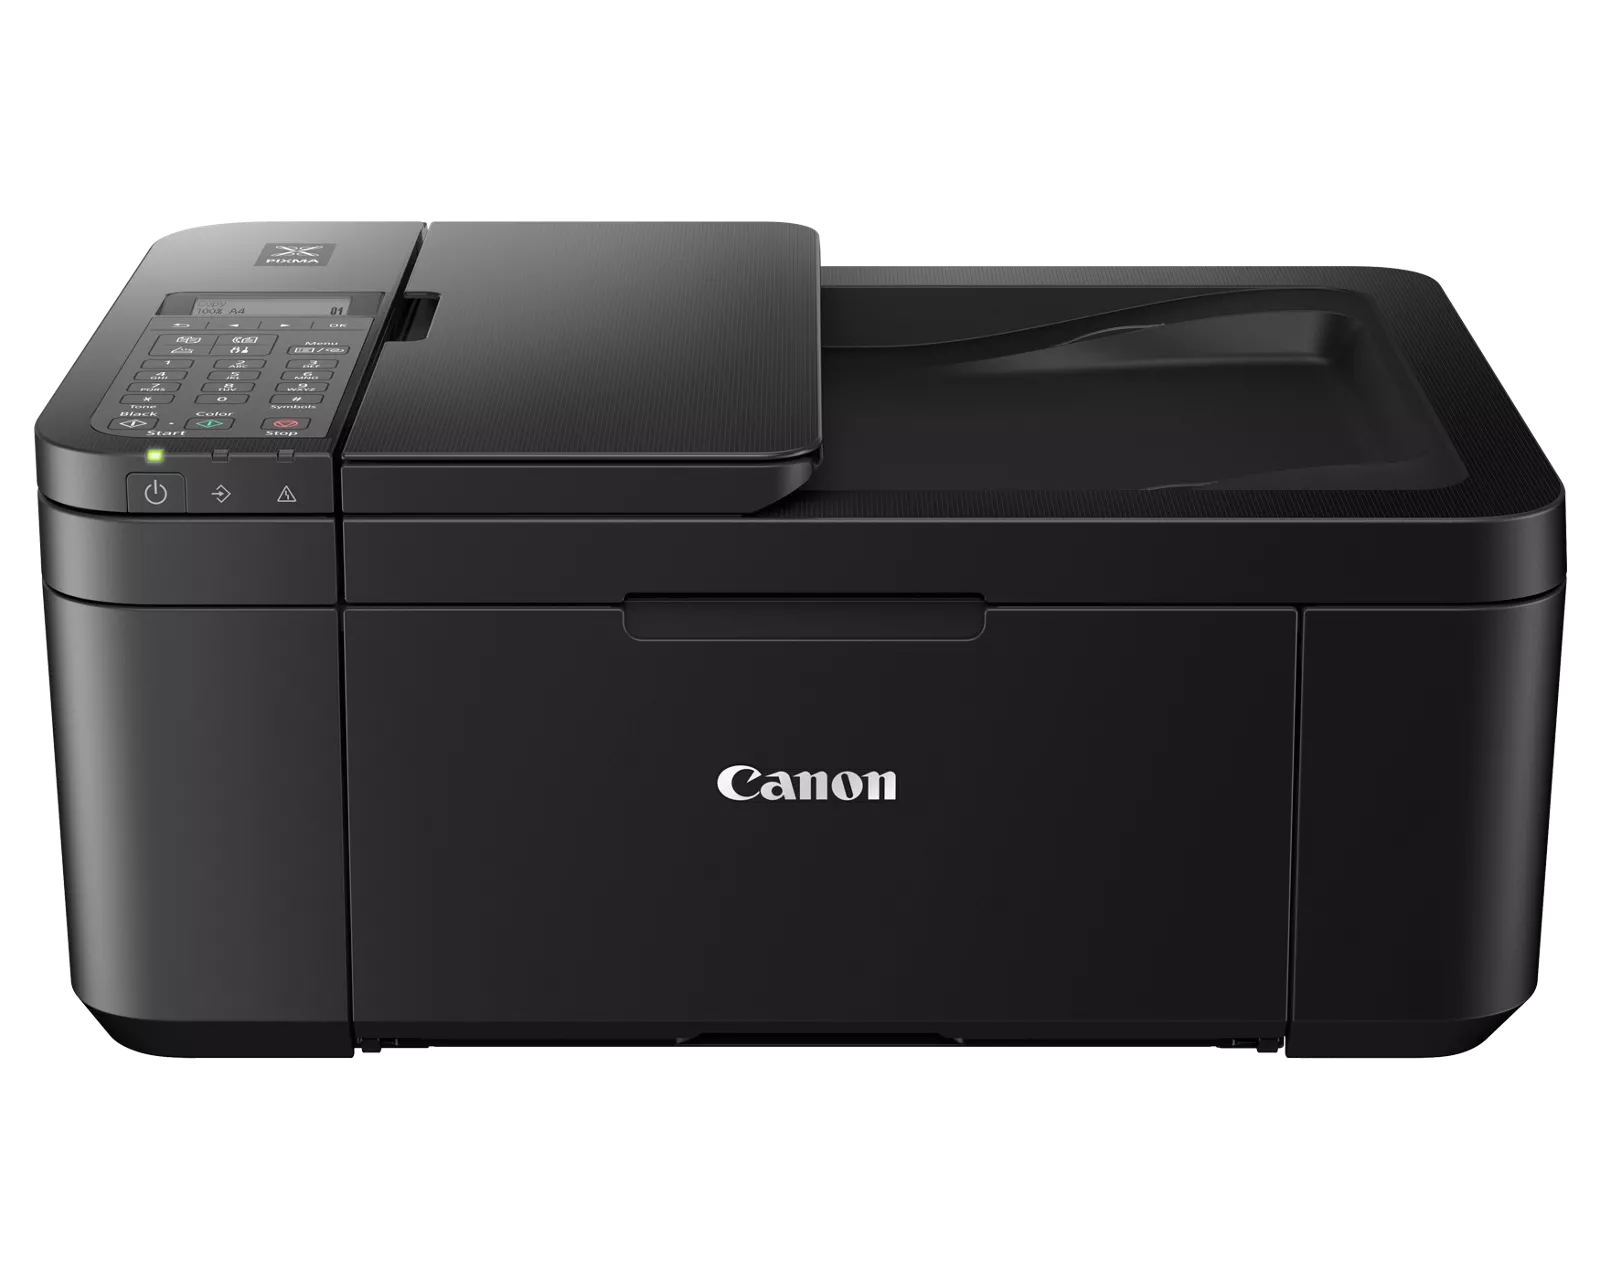
Canon printers offer a range of wireless connection options to seamlessly integrate with your home network. This guide will walk you through the process of connecting your Canon printer to WiFi, helping you choose the most suitable method and troubleshoot any issues that might arise.
How Can You Connect Your Canon Printer to WiFi?
There are three primary methods to connect your Canon printer to WiFi:
1. Manual Connect
With the help of this method, you can manually enter your network name (SSID) and password into the settings of the printer.
2. Cableless Setup / Easy Wireless Connect mode
This method utilizes a temporary connection created by the printer itself, simplifying the setup process.
3. WPS (Wi-Fi Protected Setup) Push Button Method
If your router supports WPS, this method allows for a quick and secure connection by pressing a button on both the printer and router.
Selecting the Right Connection Method
The recommended method depends on your printer model and router capabilities. Consult your printer’s user manual or Canon’s website for specific instructions on the compatible method for your model.
Here’s a breakdown of each method:
1. Manual Connect
You have to power on your printer and double-check that your computer or mobile device is connected to the preferred WiFi network. Access the printer’s network settings menu. This can be done through the printer’s control panel or a web interface or you can also refer to your user manual for specific instructions.
Locate the “Wireless LAN Setup” or similar option and select “Manual Setup” or “Enter Manually”. You will notice that the printer will search for available networks. Thus, all you have to do is choose your WiFi network name (SSID) from the list.
Next, enter your WiFi network password when prompted and the printer will attempt to connect to the network. Once successful, a confirmation message will be displayed.
2. Cableless Setup / Easy Wireless Connect Mode
Power on your printer and ensure it’s within range of your router. You have to press and hold the WiFi button on your printer and wait until the WiFi light starts flashing. Now, depending on your model, and based on your user manual’s instructions, you might need to press additional buttons.
The printer will create a temporary WiFi network. On your computer or mobile device, connect to this temporary network and you will find that the network name typically starts with “Canon_IJ”.
Once connected, run the Canon printer setup software or app, which will guide you through the configuration process and connect the printer to your home WiFi network.
3. WPS (Wi-Fi Protected Setup) Push Button Method
Verify if your router has a WPS button. Most routers have a WPS button with a corresponding logo. Power on your printer and ensure it’s close to the router. Locate the WPS button on your printer (consult your user manual if needed).
Press and hold the WPS button on your printer for a few seconds (refer to your user manual for the exact duration). Within two minutes, press the WPS button on your router. The printer and router will automatically establish a secure connection.
Troubleshooting Common Connection Issues
Try these troubleshooting steps, if you encounter any glitches while connecting your Canon printer to WiFi:
Powering on Your Printer
You need to ensure that your printer is turned on and it should be properly plugged in.
Checking for an Available Access Point
You must also verify that your WiFi network is on and broadcasting a signal. Along with this, try connecting another device to the same network to confirm that the network is functional.
Resetting your Printer’s Network Settings
Usually, you would find that most of the Canon printers have an option that would help you reset network settings and change them to factory defaults. It is always recommended to consult your user manual for specific instructions if you are confused – about how to perform this reset.
Helpful Tips for Using Your Canon Printer on WiFi
Once your Canon printer is connected to WiFi, here are some helpful tips:
Registering your Printer with the Canon Print Inkjet/Selphy App
Download the Canon PRINT Inkjet/SELPHY app (available for Android and iOS) to easily print from your mobile device and access various printer functions remotely.
Utilizing the Various Functions and Features
Explore the features offered by your Canon printer and its software. You might be able to print directly from cloud storage services, scan documents, or configure automatic ink ordering.
Connecting to Multiple Devices
Most Canon printers can connect to multiple devices simultaneously over WiFi. Refer to your user manual for instructions on adding additional devices to the network.
Conclusion
You can successfully connect your Canon printer to WiFi and enjoy the convenience of wireless printing, by following these steps and helpful tips. However, if needed, remember to consult your printer’s user manual to know about specific instructions and troubleshooting steps. Happy printing!

